Affiliate Disclaimer: This post may contain affiliate links. This means that I may earn a commission if you make a purchase through these links. I only recommend products and services that I personally use and believe will add value to my readers. Your support helps keep this blog running and is greatly appreciated. Thank you!
Every knitting project begins with a cast on. Now, what exactly is a cast on, you ask? Well, to put it quite simply – a cast on is the very first set of stitches from which a knitting project grows.
There are SO many cast on methods you can choose from to kick off this first set of stitches, and the one you end up choosing can (and probably will) greatly influence the look and feel of your project’s edging. You see, your cast on edge is the foundation for all of your stitches. You may think ‘oh, it’s no big deal – how important can a silly ‘ol edge be?’ – but I promise you, you’ll be surprised at how differently one cast on edge can look, feel, and behave from another.
Once you’re ready to take on some more challenging knitting projects, you’ll quickly begin to notice that you can’t use just any ol’ cast on method in every situation. Some situations will really limit your options – for example, you may find yourself needing to cast on additional stitches in the middle or end of your work – and here, you’ll really only have a handful of options to choose from.
You may also find yourself in a situation where you’ll need a cast on edge that offers a fair bit of stretch – as you likely would at the neckline, hem or cuff of a sweater – or at the rim of a hat.
For this reason, it’s always a good idea to get multiple different cast on methods on your knitting tool belt. As you become familiar with more and more methods, you’ll start to get a better idea of which cast ons to reach for in any given situation.
In this article, I’ll be going over what I believe to be some of the best beginner friendly cast on methods out there – the ones that I still find myself reaching for time and time again. There are, of course, heaps more to choose from than the ones I’ve listed here, but my hope is that these will provide you with a solid foundation to choose from so you can really hit the ground running! Enjoy!
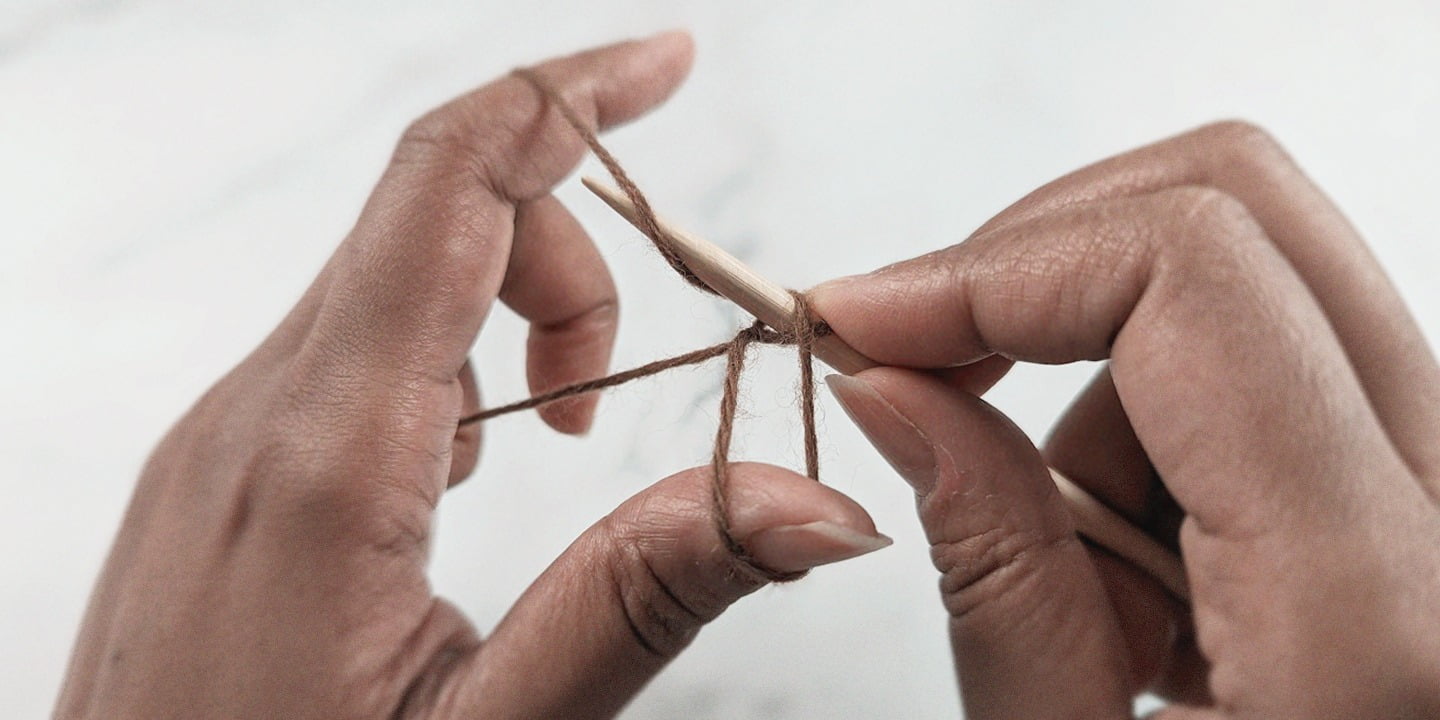
Often, a cast on will have you working up a slip knot before creating any stitches to knit from. The slip knot acts as your first stitch – and for many cast on methods, it is the seed from which all stitches grow. So, first thing’s first – let’s learn how to make one!
I’ve placed this cast on first in line because, well, for me it’s undoubtedly the easiest to perform. The Backward Loop Cast On begins with a slipknot (see above). From here, you’ll wrap your working yarn around either your thumb or index finger, creating a loop. You’ll then grab that loop with your right hand needle, give it a bit of a tug, and simply let it rest on the needle. You’ll repeat this process for as many stitches as you need. Easy peasy.
One caveat to the Backward Loop Cast On is that it can take a fair bit of practice getting it to actually look neat. That is, you can easily pull each loop too much on your first row of knitting, resulting in an edge that can look rather untidy.
A simple trick to remedy this little bump in the road is to work your first row with a light touch, nice and close to your needle tips. Remember, what you’re really trying to avoid here is pulling the loops apart too much – and it can be very easy to do this if you’re not careful (or are working too tightly). So whilst the Backward Loop Cast On is perhaps the easiest in terms of quickly getting stitches on your needle, you’ll likely have to work a little harder at getting it to actually look neat.
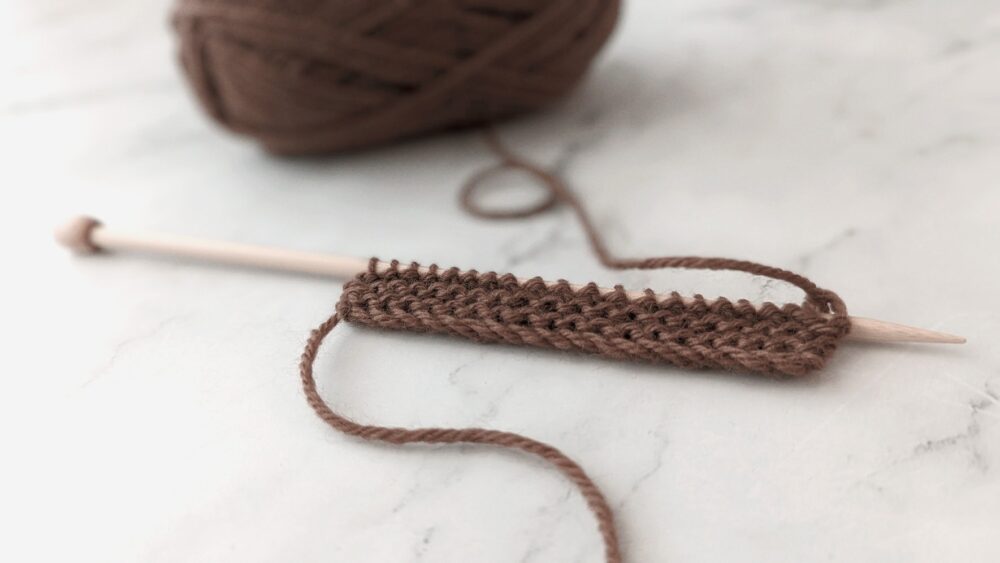
I’ll typically use this cast on whenever I need to add new stitches in the middle or end of my work – particularly when I know I’ll be picking up stitches from it at a later time (as in the underarm or front neckline of a top-down sweater). Because of how messy it often ends up looking, I don’t recommend using this cast on along an edge that is intended to remain visible.
There are two ways to work the Backward Loop Cast On – either with your thumb or with your index finger. The main difference between the two methods is the resulting stitch mount. When worked using the thumb, your stitches will be mounted in reverse. When worked using the index finger, your stitches will be mounted on your needle correctly. For this reason, I highly recommend using the index finger method as much as possible since on the next row, you won’t be working with twisted stitches.
The only time you’ll really need to use the thumb method is if the first stitch on your first row (after casting on) is a purl stitch.
The Knitted Cast On is an excellent place to start if you’re an absolute beginner and want to “kill two birds with one stone”, as they say. Let me explain – if you’re completely new to knitting, but you want to learn how to cast on and knit a stitch at the same time, this cast on is for you!
To work the knitted cast on, you’ll first start with a slip knot. You’ll then place your left hand needle into the slip knot and wrap your working yarn around it as if you were creating a knit stitch. But, instead of letting it slide off your needle (as you would when knitting a stitch), you’ll place your newly created stitch back onto your left-hand needle. And that’s it! Rinse and repeat.
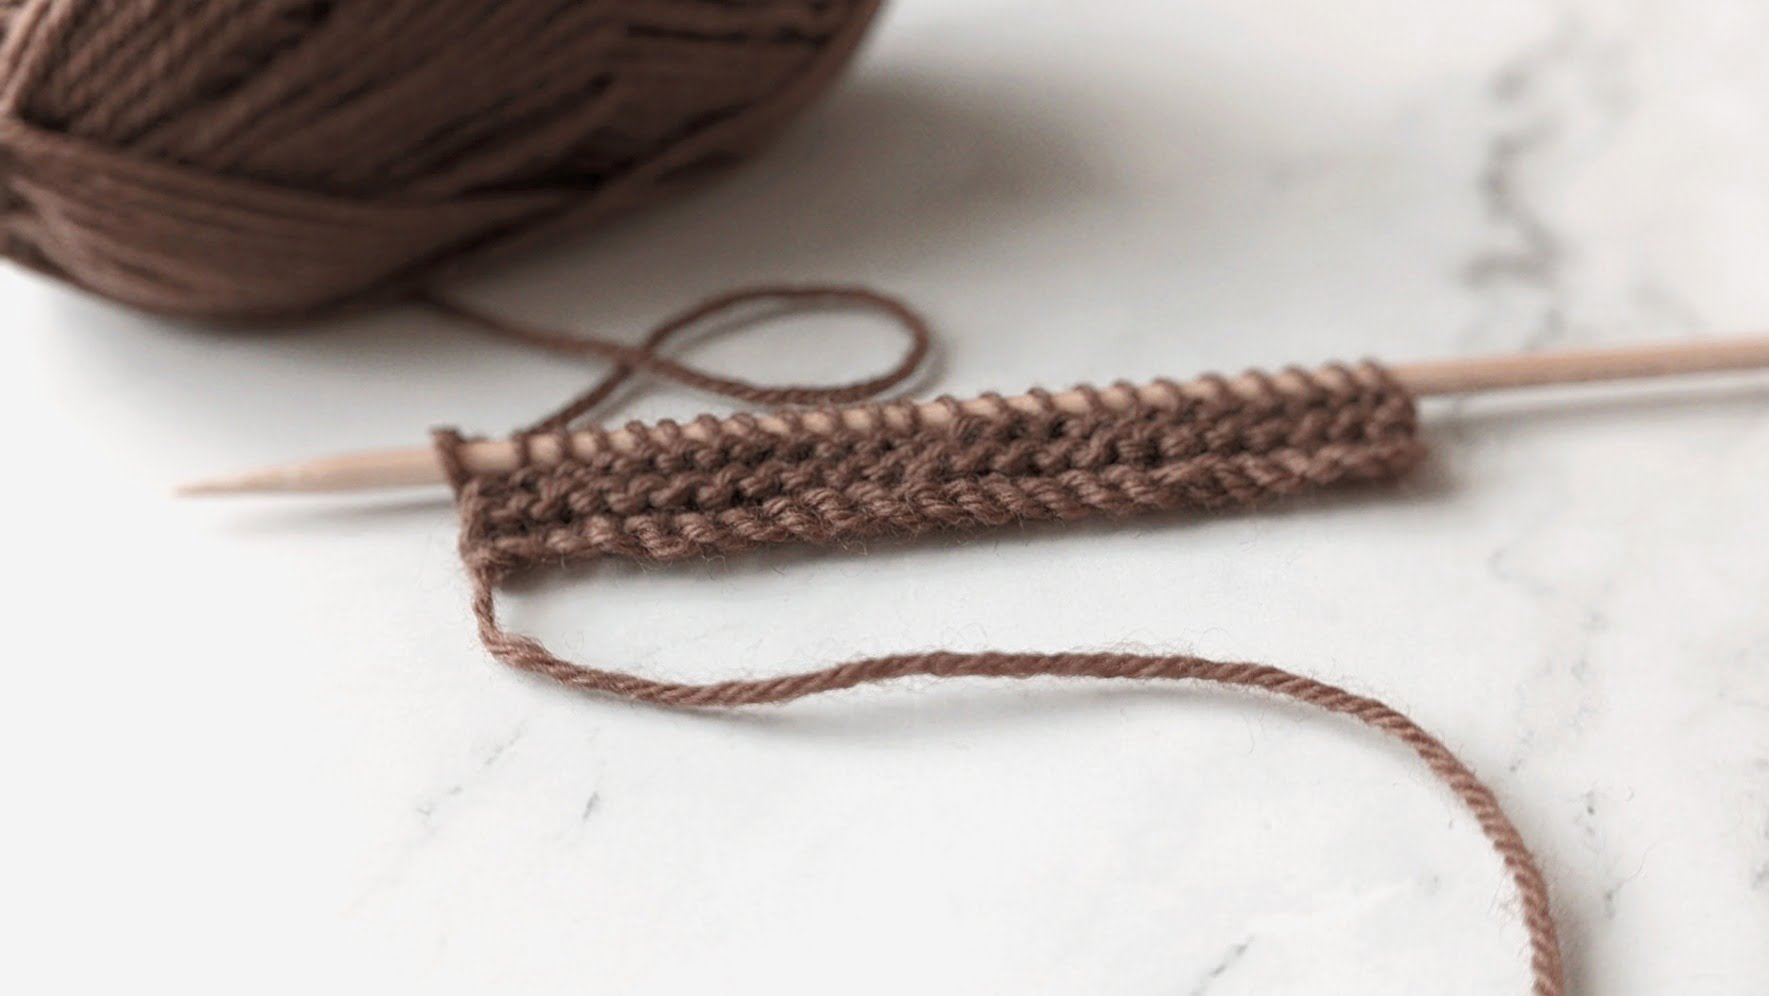
To be completely honest with you, I hardly ever use this one, but I’ve included it here because it’s such an easy cast-on to learn. If I ever find myself using the Knitted Cast-On, it’s typically when I need to add multiple stitches in the middle of my work. But even then, I usually find myself opting for either the Backward Loop Cast-On (above) or the Cable Cast-On (below). In any case, as we’re all different, so I say just try it out – it may just end up becoming one of your faves!
The Cable Cast On is worked very similarly to the Knitted Cast On – the only difference being where you insert your needle. That is, rather than inserting your needle into a stitch, you’ll be inserting your needle in between two stitches in order to create a new one. This slight tweak in the way the Cable Cast On is worked makes all the difference in the durability of the resulting edge.
There are two ways you can go about starting this cast on. The most common method is by working the first stitch a little differently than the rest. Because the Cable Cast On technically needs two stitches on your left hand needle in order to create a new one, many knitters resolve this issue by working the first stitch just as they would a Knitted Cast On – that is, into the slipknot. All subsequent stitches are worked in between the two most recent stitches.
The second, lesser known method, has you working the first stitch to the left of the slip knot, wrapping your working yarn around your right hand needle, and placing that newly wrapped loop onto your left hand needle. Here, you’re essentially imagining a second stitch right next to the slipknot, and working the first stitch as though the second stitch is already there. Even though this method can feel a bit fiddly at first, it is my preferred choice. The cast on edge ends up looking more consistent, with all stitches worked the same way.
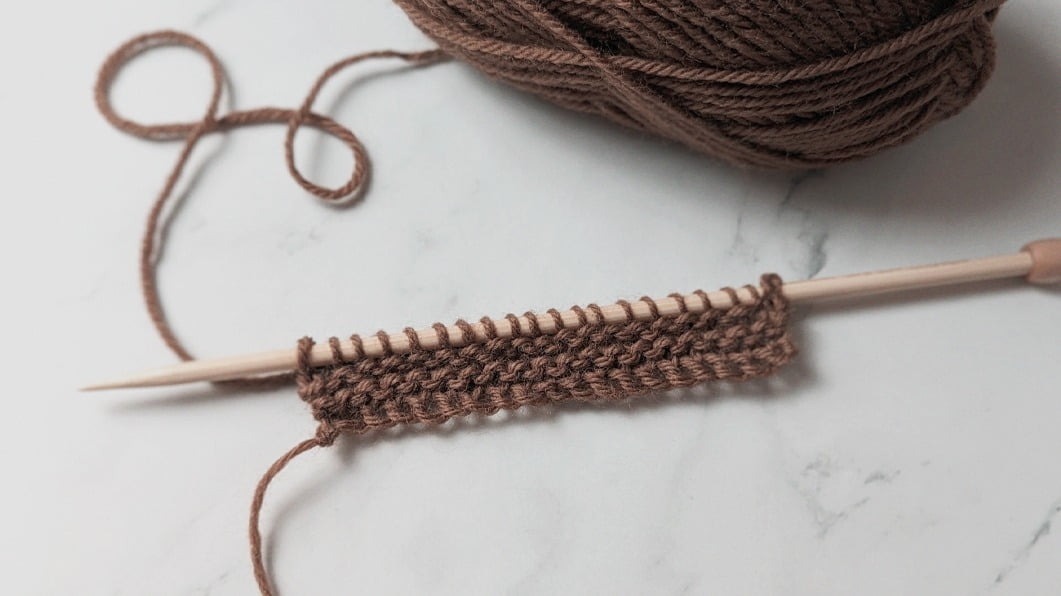
One last thing to note is that you’ll want to work this cast-on somewhat loosely. If you tighten each new stitch too much, you’ll likely struggle with inserting your needle in between the two stitches in order to create the next stitch.
Although you can certainly use the Cable Cast-On to begin your knitting project, I typically use this cast-on mostly for buttonholes or pockets as it’s a great ‘middle-of-the-row’ cast-on for whenever you’d need a firm edge that won’t stretch out too much over time.
The Alternating Cable Cast On is exactly as it sounds – it’s a Cable Cast On that alternates between knit and purl stitches. By alternating between inserting your needle from front to back (as if to knit) and back to front (as if to purl), you’re essentially creating a cast-on that is a fantastic choice for ribbing.
Just like the Cable Cast On, the Alternating Cable Cast On offers a neat and firm edge that is stable and won’t overstretch. I like to use it at the hem, cuffs, and neckband of a sweater or at the rim of a hat, whenever I’m working bottom-up. And, again, just like the Cable Cast On, you can use this one when you need to cast on stitches in the middle or end of your work – say, when you want to create a neat ribbed edge for seamless pockets.
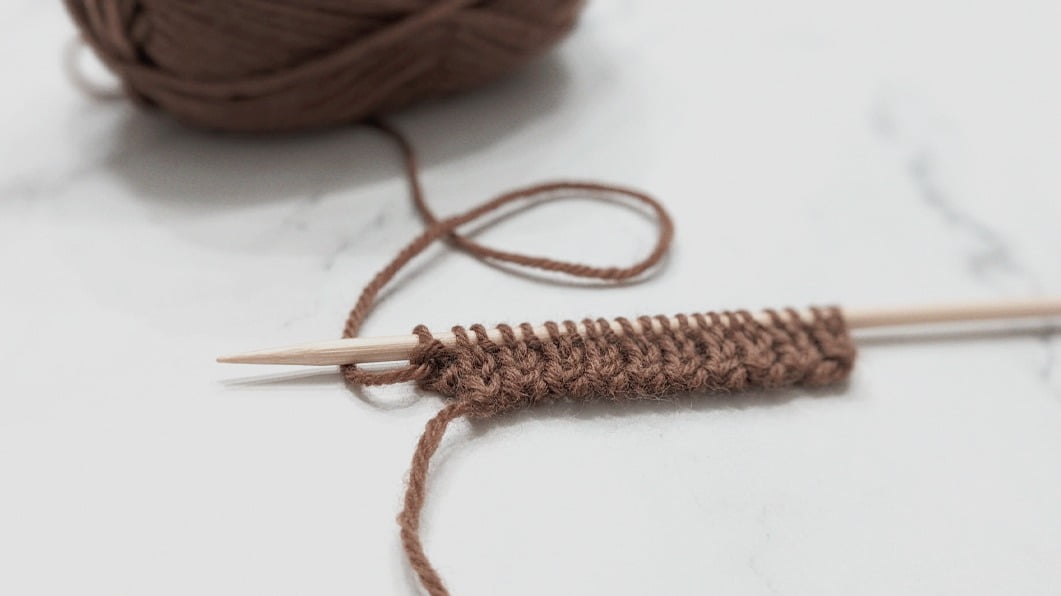
To work the Alternating Cable Cast On, work Steps 1-6 above (for the standard Cable Cast On), then follow the steps below.
Ok guys, I can fairly confidently say that the Long-Tail Cast On is the most widely used cast-on method out there. And it’s no wonder, really – I mean, it’s just so versatile! You can pretty well use it for anything. It’s stable, pretty, and just stretchy enough when you need it to be. If you’re hard-pressed on choosing the best cast on for your knitting project, go with the long-tail. You really can’t go wrong!
The Long-Tail Cast On was the first method I ever learned. I wouldn’t say it’s the easiest to get a handle on, but it’s one you’ll definitely want to get on your toolbelt, as so many patterns will instruct you to use it. In fact, many knitters learn this one first, so if you’re feeling intimidated when looking at the instructions – don’t be! With enough patience and a little bit of practice, I promise you’ll get the hang of it in no time.
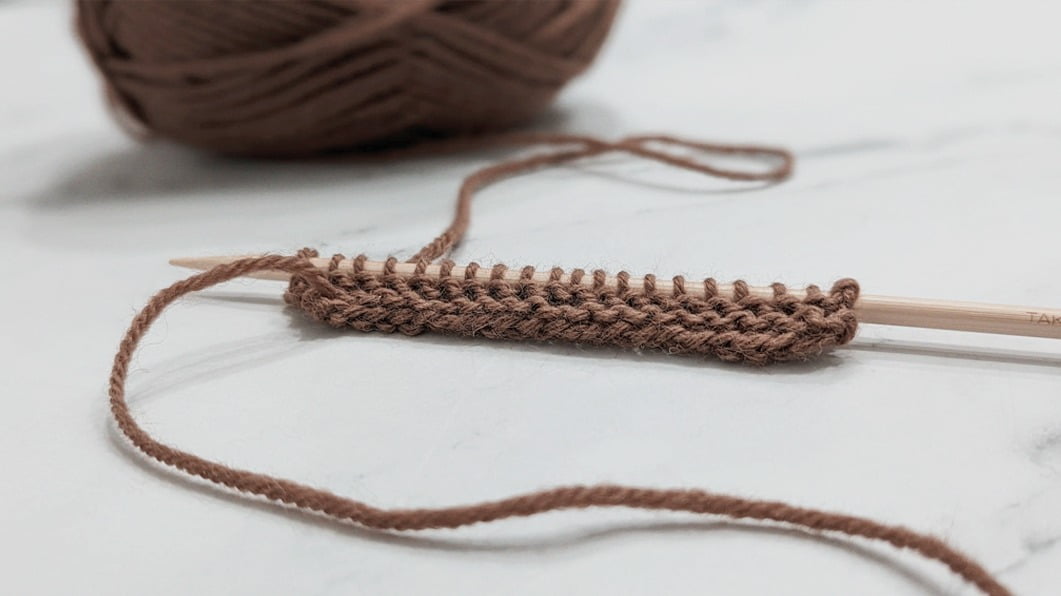
The Long-Tail Cast On begins with a long tail (who woulda thought?) and is created by holding your yarn in a slingshot position while picking up strands between your index finger and thumb in a figure 8 motion.
You may start with a slip knot here if you want to, but to be honest, I never do. Besides the fact that it tends to create a small bump where the cast-on starts, I find it adds an unnecessary step to the process. That said, we all have our preferences, so if you prefer to create a slip knot to kick off your Long-Tail, by all means – do so!
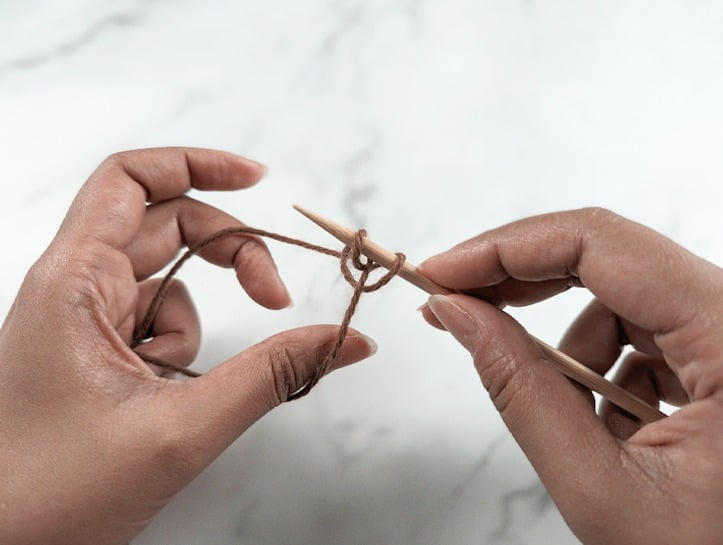
Step #7:
Let go of the loop on your left thumb.
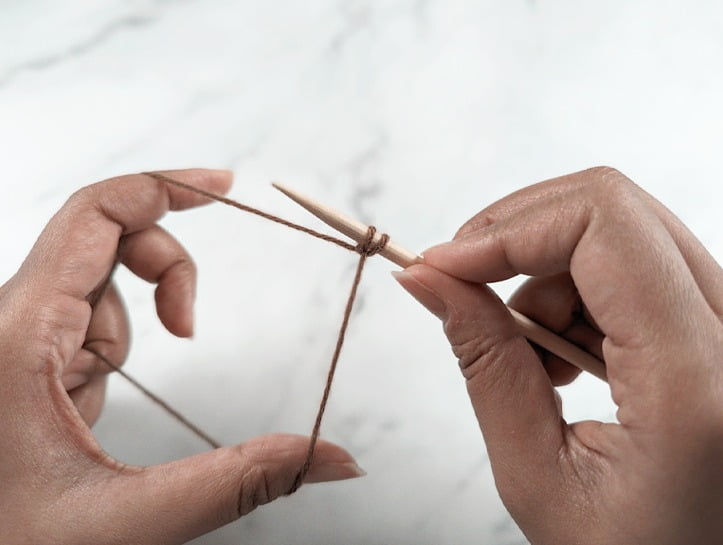
Step #8:
Tighten the newly formed loop.
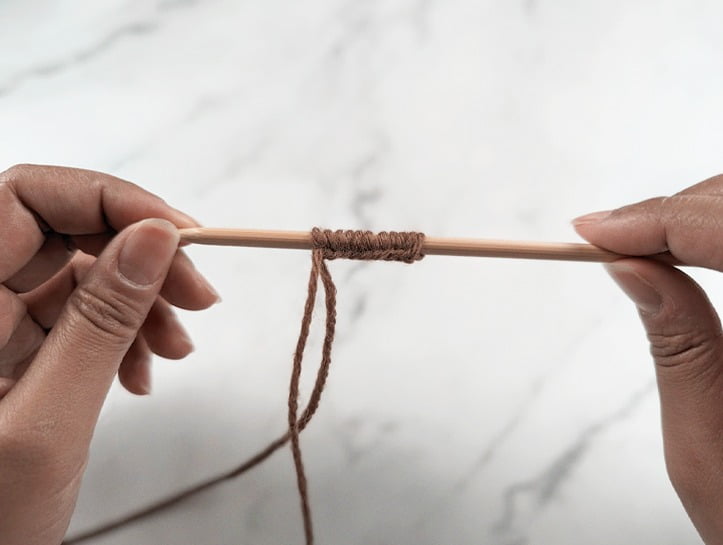
Step #9:
Repeat steps 4-8 as needed.
And that’s it for my list of beginner-friendly cast-ons! If you’re a bare bones beginner at this knitting game, I really hope this article was helpful for you! As I mentioned in the intro, there are many more cast-ons to choose from than the ones on this list – and once you’re ready to take on the challenge, I really encourage you to go out there and explore your options. I promise you – your knitting will thank you for it!
If you already know a few cast-on methods, what are some of your favourites? I’d love to hear about it in the comments section below!
Ready to actually start knitting? Check out this article I wrote on How to Knit & Purl.